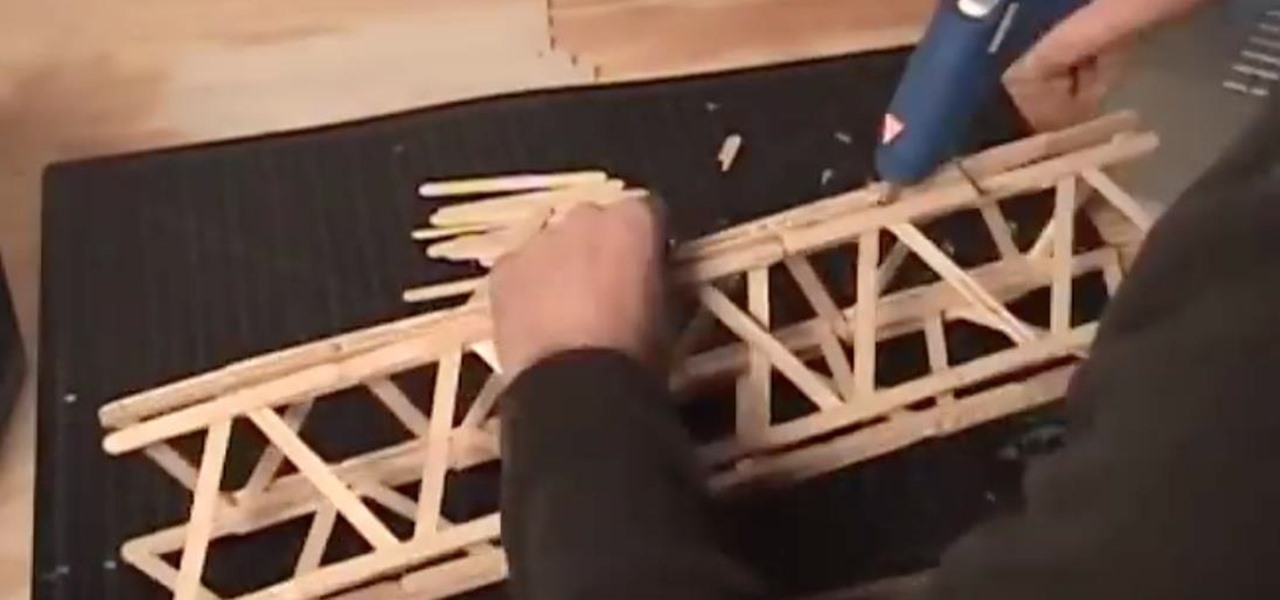
Hot Construction Toys How-Tos

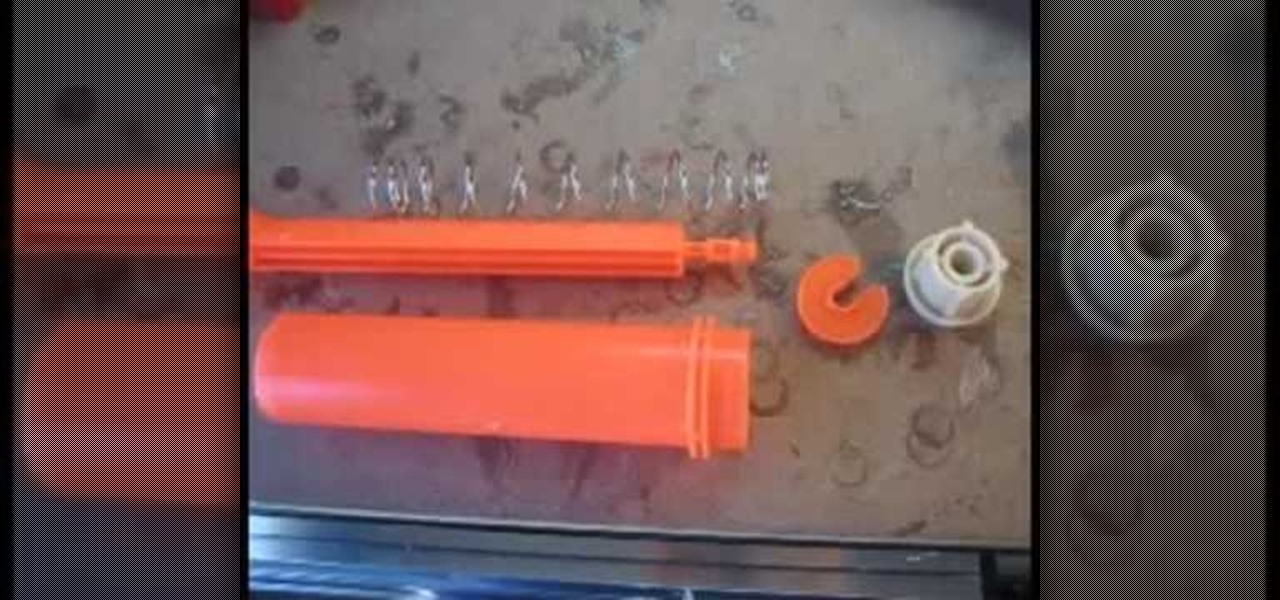
How To: Modify a Nerf Big Bad Bow to shoot farther
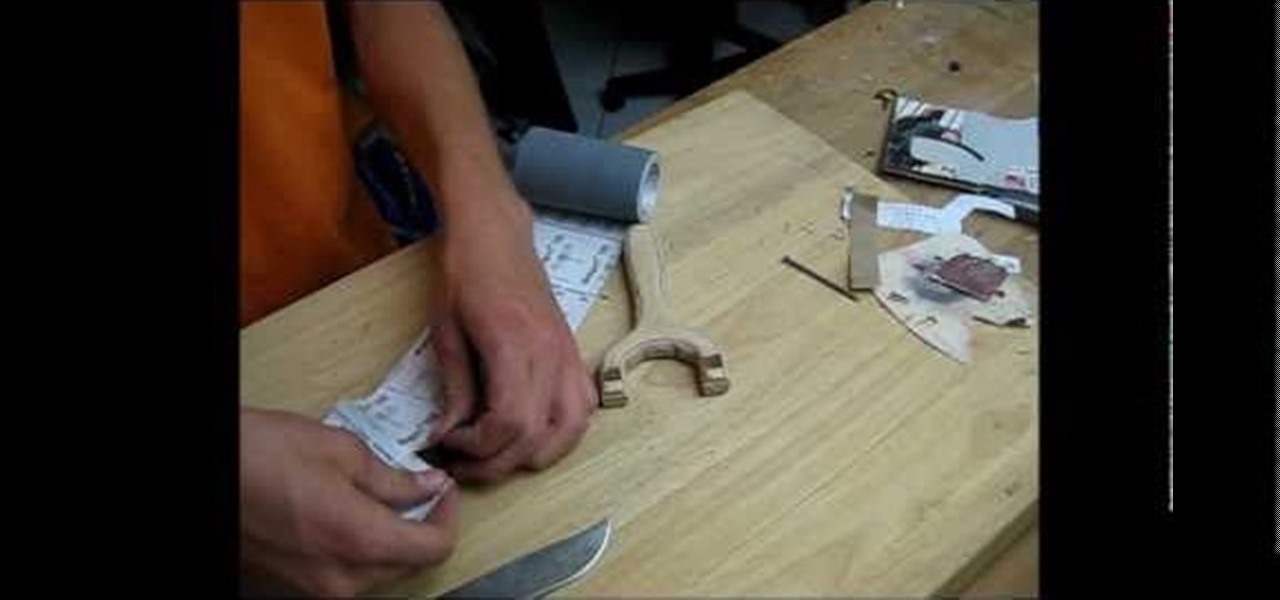
In this Hobbies & Toys video tutorial you will learn how to modify a Nerf Big Bad Bow to shoot farther. Open up the front part of the shell by removing the screws. Make sure the spring on the launch piece stays together and pull out the barrel. Then dismantle the white restrictor piece and drill a hole in the center for more airflow as shown in the video. Now cut off the orange barrel as close to the wall as possible with a pipe cutter and sand it off. Take an extra piece of CPPC pipe and ram...
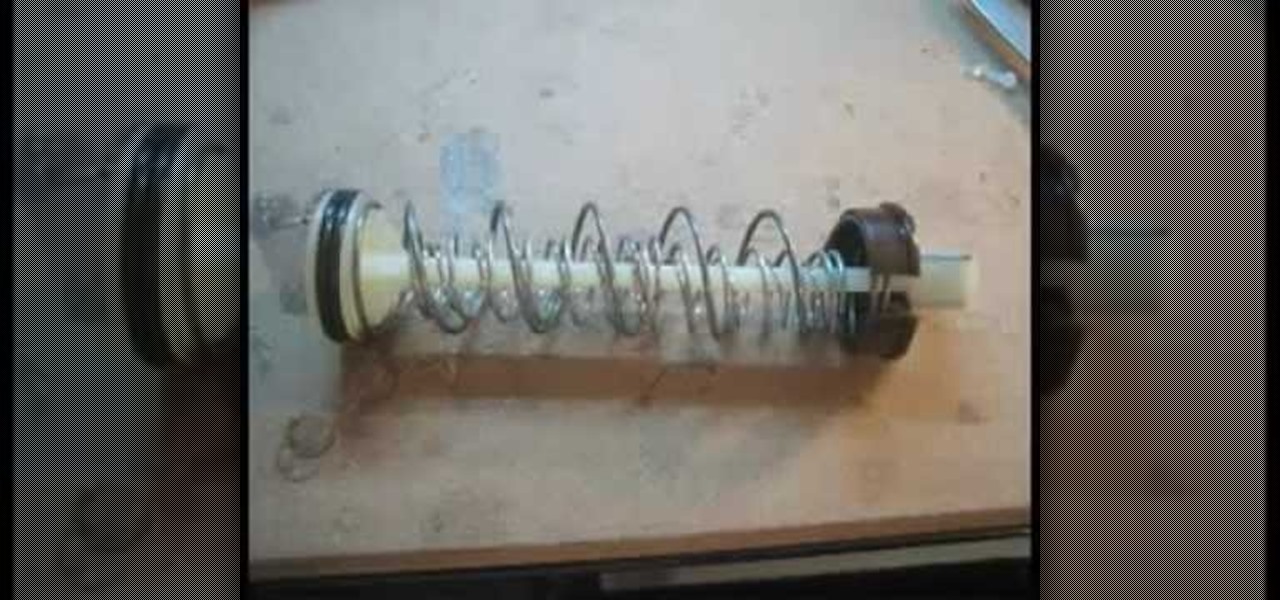
How To: Modify an ERTL pump action toy shotgun
In this Hobbies & Toys video tutorial you will learn how to modify an ERTL pump action toy shotgun. Unscrew the orange part of the barrel and cut it as shown in the video. Sand out the part that will be used, get a funnel piece and add electrical tape around the nozzle and glue on a half inch PVC cup. Now put electrical tape around one half of another tube that is of the same height as the funnel piece and glue it on to the funnel piece. You then put hot glue in to the open area. The next ste...

How To: Create a basic rubber band ball
There are some pretty interesting hobbies out there that involve various items. But this tutorial focuses on one particular hobby that isn't weird or strange at all. It shows you how to create a basic rubber band ball using what else, rubberbands. It's easy to do and can actually be a great way to keep your rubberbands organized. Enjoy!
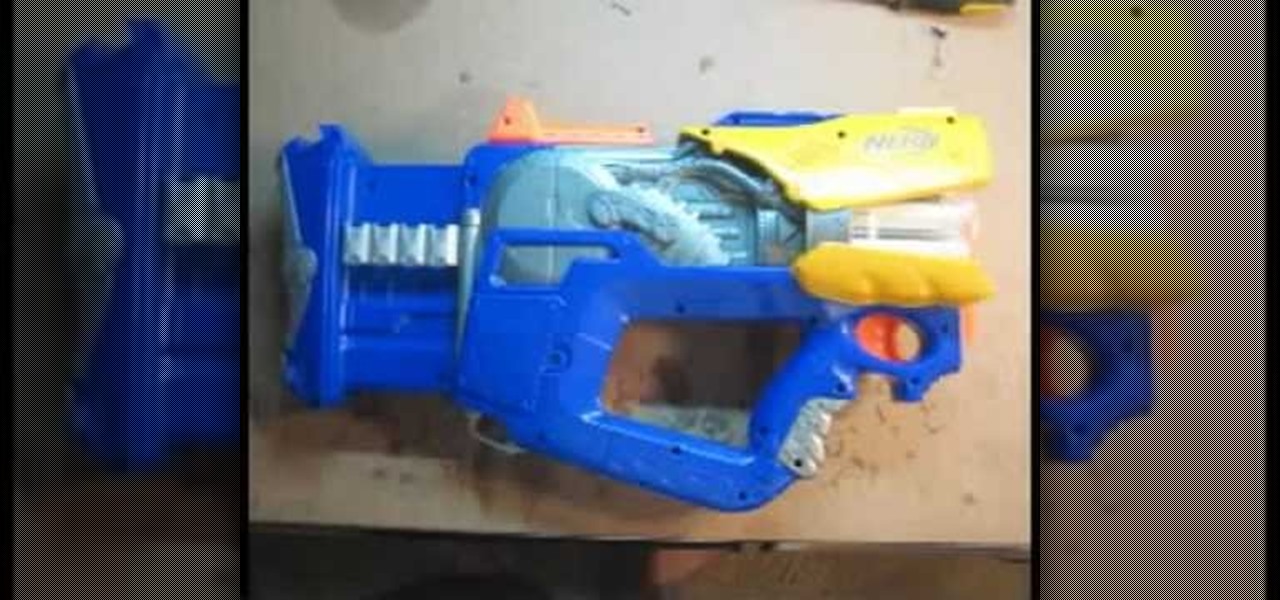
How To: Modify a Nerf Firefly toy gun
In this Hobbies & Toys video tutorial you will learn how to modify a Nerf Firefly toy gun by replacing the barrels with CPVC and adding a new spring. You start with the power blaster and open it up. Remove the turret by removing other parts as shown in the video. Remove the screws from the turret and pull it apart. Cut off one side of the front end of the turret. Now cut 8 x 3” CPVC barrels, wrap black tape around one end and ram them into the back of the turret. Then pull out the plunger, ...
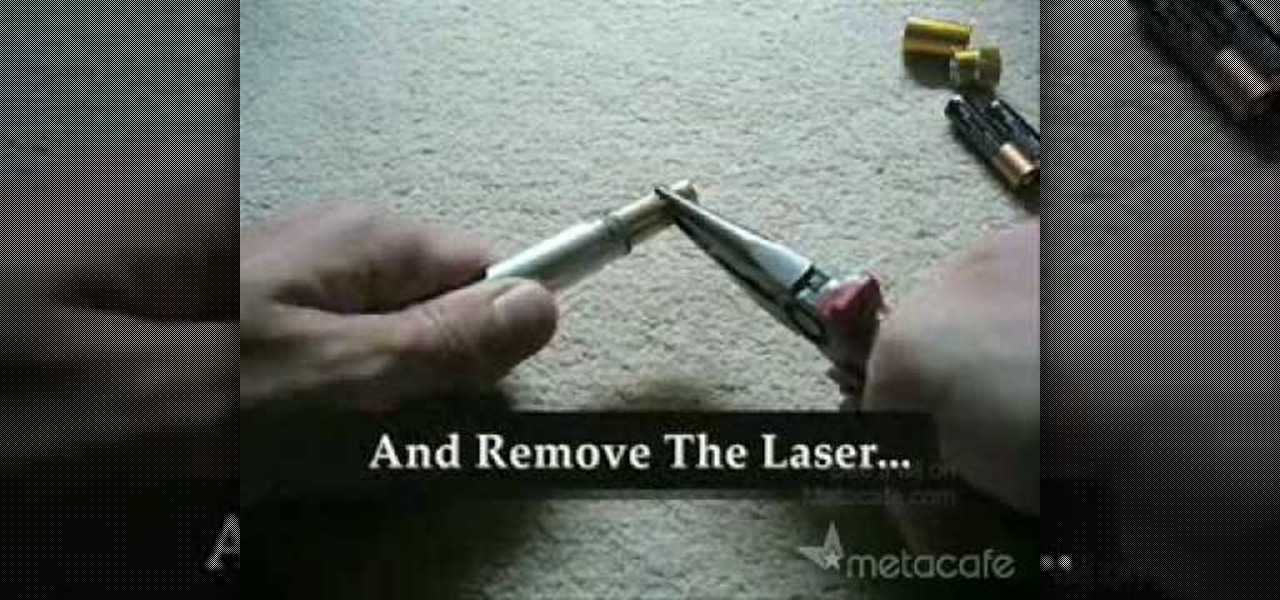
How To: Modify your laser pointer
In this video, learn how to modify your laser pointer to make fun, new shapes. This video will show you how to make an extremely cool new toy and impress everyone. Imagine what your class reaction will be when you start pointing to things with a funky shape instead of a typical pointer. Laser pointers are great for presentations, cat toys and just general fun. Why not modify yours and make it your own?
How To: Build a Lego motor car
You can build almost everything out of LEGOS. They are versatile and fun toys and great learning tools. In this video, learn how to build a motor car out of LEGOS.
How To: Build a LEGO fence
With this tinkerer's tutorial, you'll learn how to assemble a fence from plastic LEGO toy blocks, a design certain to compliment most any LEGO house. For a detailed walkthrough of the assembly process, watch this free video guide.
How To: Build a LEGO house frame
This tinkerer's tutorial will walk you through the process of assembling a house frame from plastic toy LEGO blocks, a necessary component of any LEGO house. For detailed, step-by-step instructions, watch this free video how-to.
How To: Build a magic rollback can
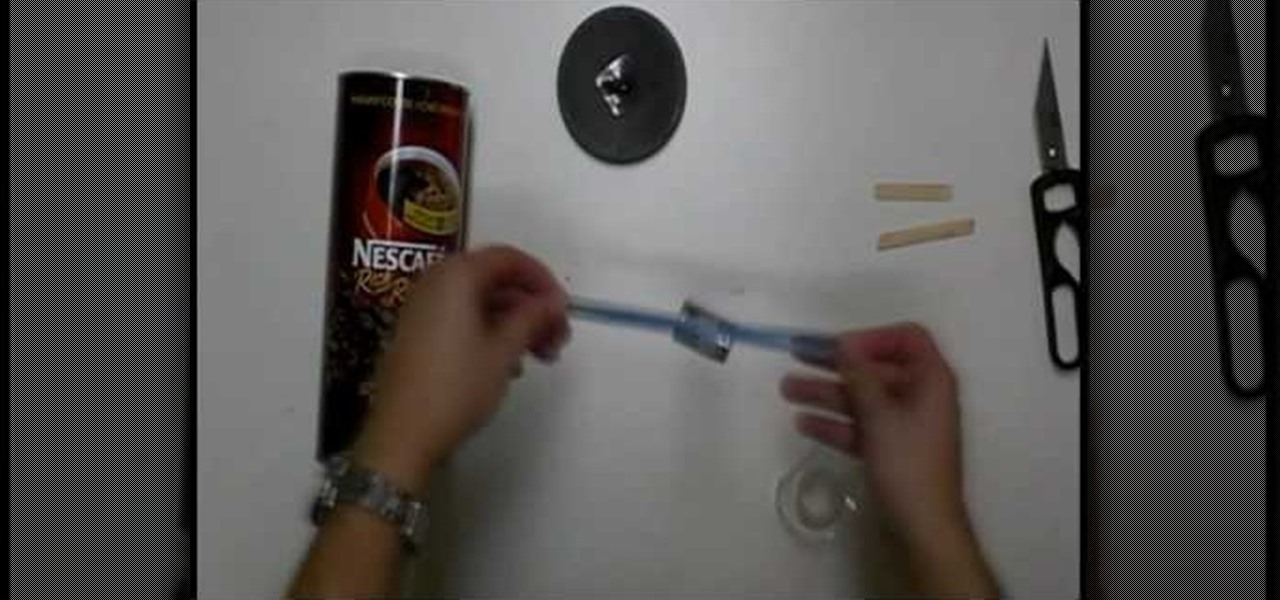
This video tutorial in Hobbies & Toys category will show you how to build a magic rollback can. For this you will need a can with lid, rubber band, weight, tape, sticks and scissors. Make a hole in the center of the lid of the can and also on the bottom of the can. Attach the rubber band to the weight with the tape as shown in the video. Pass one end of the rubber band from inside the can through the hole in the bottom of the can and put a stick to hold it in place. Pass the other end of the ...
How To: Power a toy car with a balloon
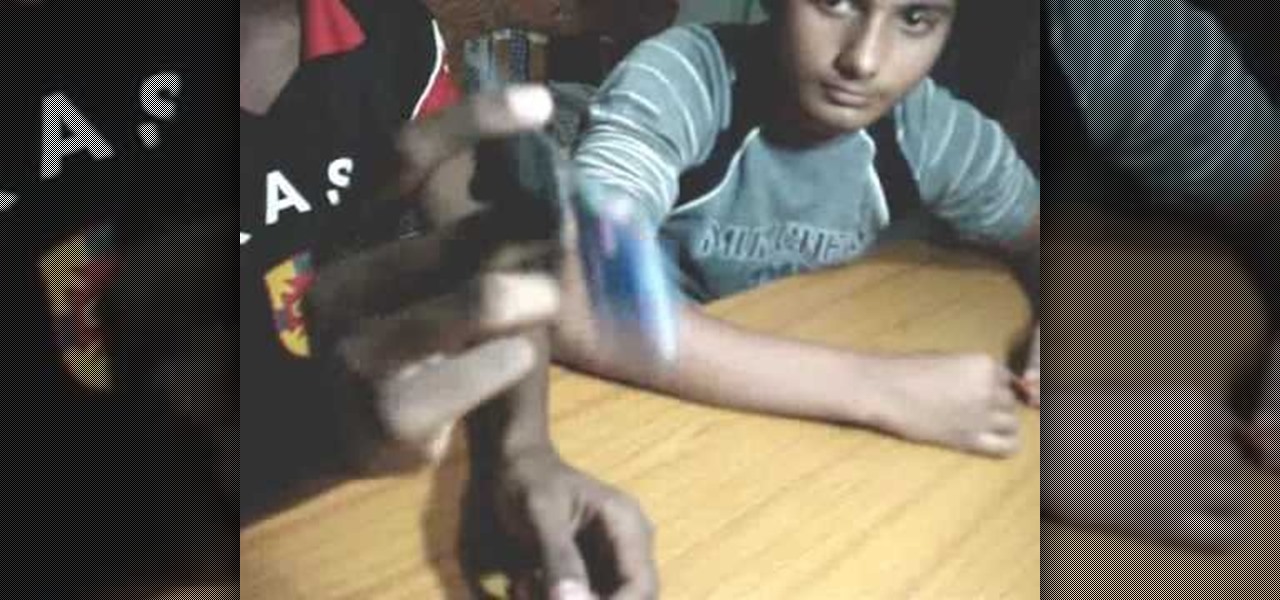
Karthik Raj and Nishant explained about a air balloon car in this video. You just need 4 or more things to make the air balloon car. You need two rubber bands, one pen, two toy cars, and one air balloon exactly to do this air balloon car. First of all, you just take the air balloon and fix it one side of the pen which is opened two sides. Next place the pen on the top of the toy car and tie with a rubber band and make sure that the rubber band is in the middle of the toy care and not in the t...

How To: Make a boomerang out of styrofoam cups
Crazy Chris shows us how to make a cool boomerang out of two Styrofoam cups - useful as a party trick. Plastic and paper cups can also be used. The bottoms of the cups are taped together. The key to making the boomerang work is the positioning of the fingers on the cups. The middle finger should be placed in the middle joint of the two cups - the fingernail in contact with the tape. The pointer and ring fingers should support the top of the cups and the thumb gives the bottom support. Chris t...
How To: Build a LEGO desk
This video is about making a LEGO desk, which is used for placing computers. The video shows the first step by taking few pieces of wood and making into pieces. Then two of the pieces are placed one over the other and placed in the left side and the other single piece is placed on the right side. Another piece is placed on the top of the pieces placed in left and right positions. After everything is placed it gives the perfect shape of a computer desk and a toy computer is also placed on the ...
How To: Build a popsicle catapult
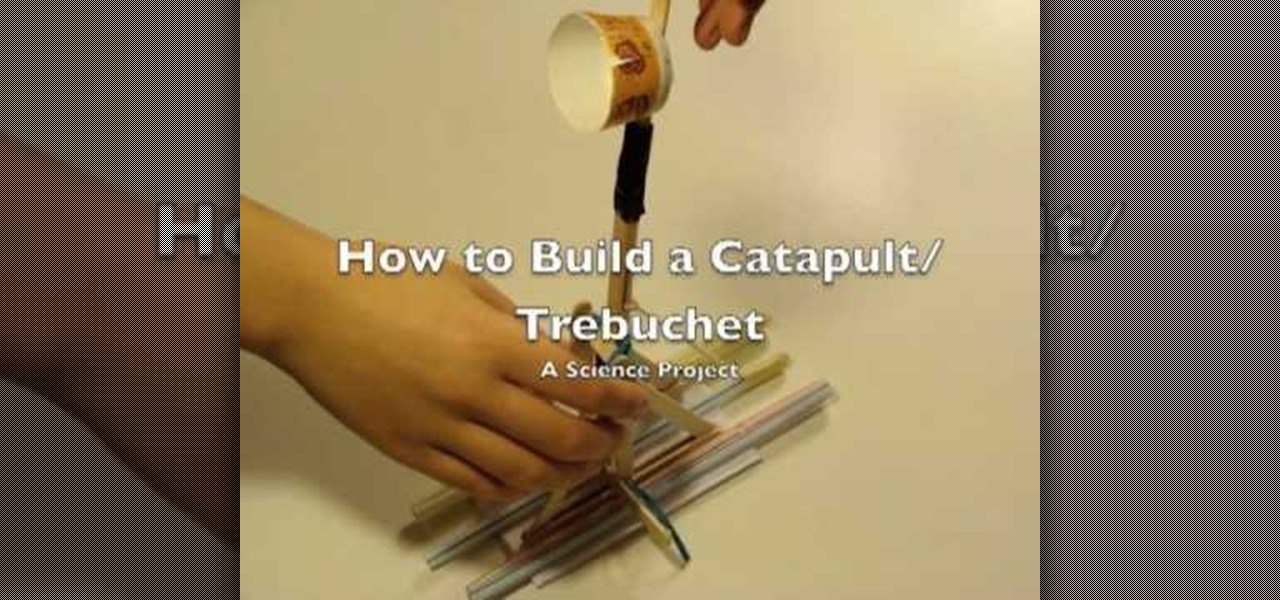
This video demonstrates how to make a catapult out of popsicle sticks. For this project, you will need the following: 7” rubber bands, a box of popsicle sticks, a hot glue gun, a Dixie cup, and tape.
How To: Make deadly homemade bolts
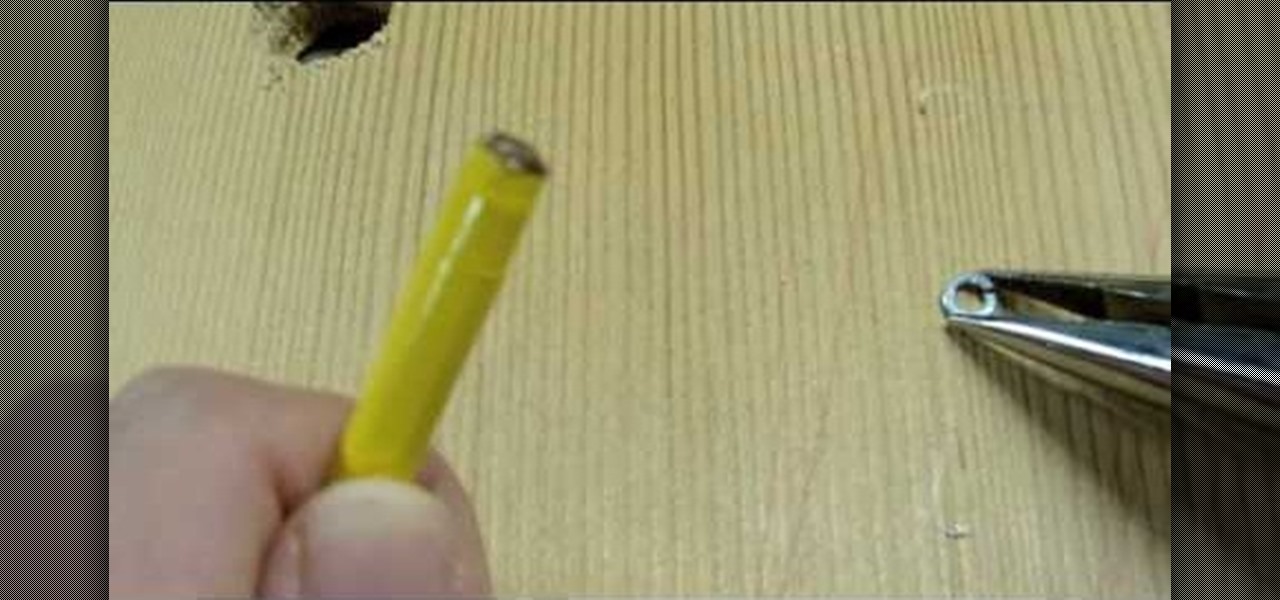
In this Hobbies & Toys video tutorial you are going to learn how to make deadly homemade bolts. Take a pencil and remove the ferrule from the end of the pencil. Make sure to pull it off completely so that you expose the flat end. Then take three pieces of electrical tape and tape them on the pencil and on to each other so that they form three wings. Now take a tack pin and with the help of nose pliers and pliers break off the rear end. Apply some hot glue to the ferrule end of the pencil and ...
How To: Make a basic rubber band car
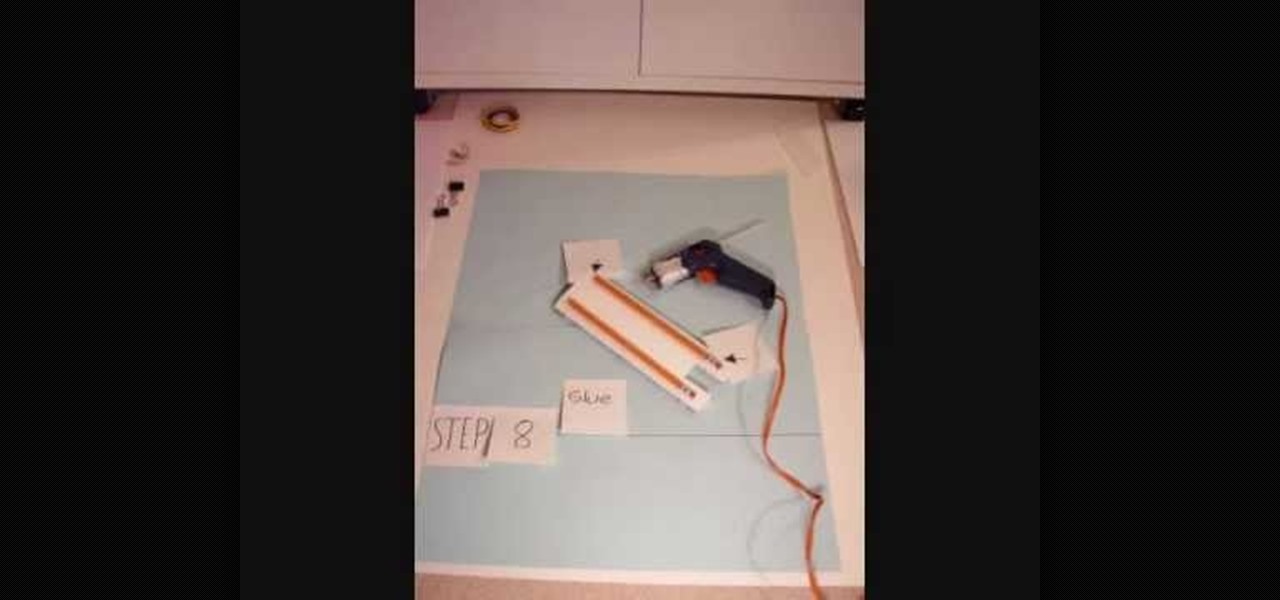
To make a rubber band car you will need one sheet of card stock, four paper clips, two binder clips, one plastic straw, 8 inches of dowel that fits into the straw, two pencils and one rubber band. You will also need four CDs or round pies of cardboard, tape, a ruler and a marking pen. First, unfold the paper clips. Then fold the card stock and attach the paper clips. Cut squares out of the card stock. Then, cut the straw. Attach it to the card stock. Affix the pencils to the card stock with h...
How To: Build a treadmill desk
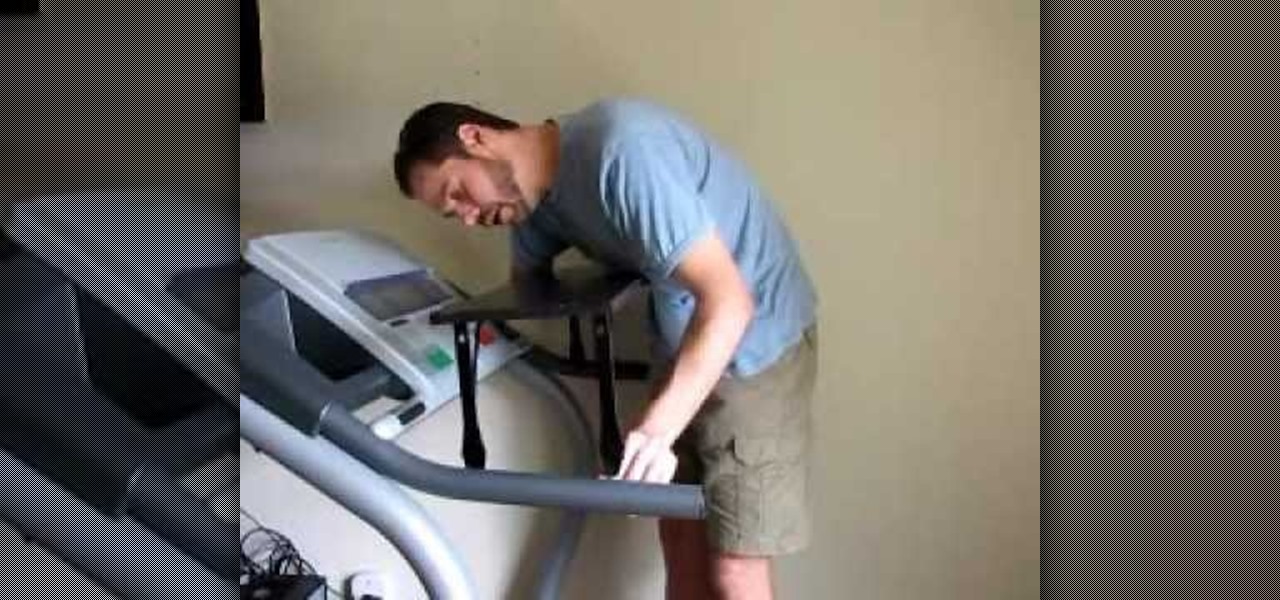
This is a great way to turn your treadmill into a walk station quickly and cost effectively. You only need a few things for this project: a tape measure, four shelf mounting brackets, screws, a drill, and a shelf.
How To: Modify a Nerf Longshot CS-6 gun
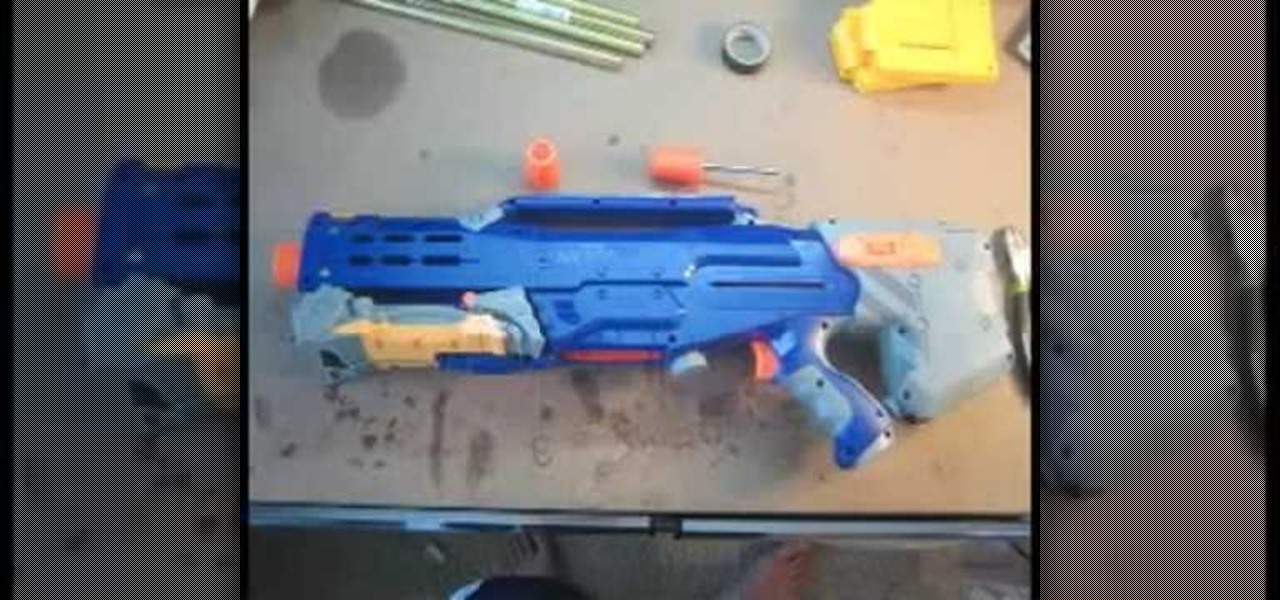
Nerf guns are a great way to battle without inflicting serious injury. This video tutorial shows you how to modify a Nerf Longshot CS-6 by adding an angel breech and altering the clip to accept stefan bullets. This instructional also shows how to add gun spring reinforcements to insure the weapon operates well under the increased force. Finally, you'll learn how to integrate the front gun and link the trigger to the main Longshot spring mechanism for added fire power.
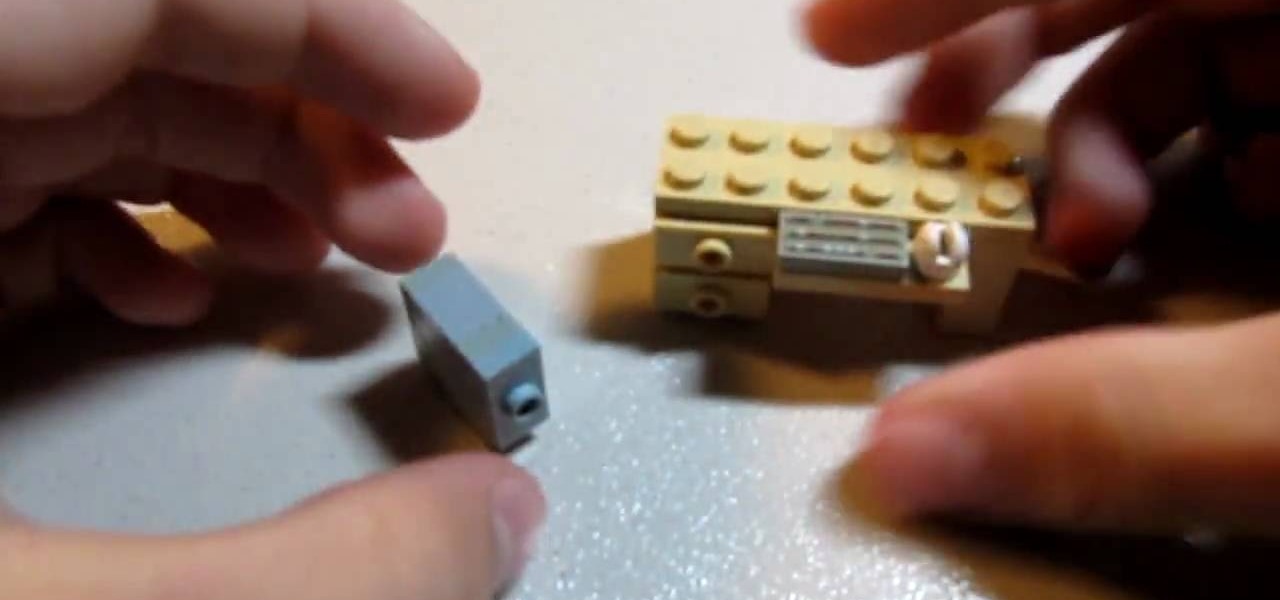
How To: Build a LEGO computer tower case
In order to construct a LEGO computer tower case, you will need 6 bricks: 2 1x2 smooths with the dot in the center, 2 1x2 thins, 1 1x1 chunky, and 1 1x1 with a hole in the middle. First, take both of your 1x2s and stick them on top of the 1x1s. You'll want the hole facing outwards on the side. Next take your other 1x1 and snap that on top. Now take the 1x2 with the dot in the center and attach that to the front. Then take your remaining 1x2 with the dot in the middle and connect it into the h...

How To: Make a LEGO Menorah
This tutorial demonstrates how to make LEGO Menorah which is used for decorative purposes. First a 1/3 angle brick and a transparent red color stud dot are taken. Then three red cans are taken. Now one of the red can is fixed to one side of the angle brick, leaving the middle open, fix one more can on the other side. The red stud is placed on the middle, on top of which the third can is placed. Now the first menorah is formed which can be placed on tables, walls, etc.

How To: Build a table out of LEGOs
In this tutorial from brickboy518, viewers are shown how to construct a table out of fourteen LEGO bricks. The following bricks are required: 4 1x1 spokes, two 4x1 strips, a 4x6 thin, a 2x4 thin, two 4x1 thins from the LEGO Racing Legacy sets, and 4 1x1 spokes. First, the builder must apply the 2x4 thin to the center of the of the 4x6 then. Next, they must attach one of the spokes on each corner of the 4x6. Then, the car strips must be applied face-inwards to the sides of the 4x6. Thus, this ...
How To: Make a Lego boomerang
In this video tutorial, viewers learn how to make a LEGO boomerang. LEGO is a line of construction toys manufactured by the LEGO Group. This is a very simple LEGO construction. It only consists of 8 LEGO pieces and 2 optional LEGO pieces. It doesn't matter about the color of the pieces. The video provides a visual demonstration and step-by-step instructions for viewers to easily understand and follow along. The video is descriptive and explains all the instructions. This video will benefit th...
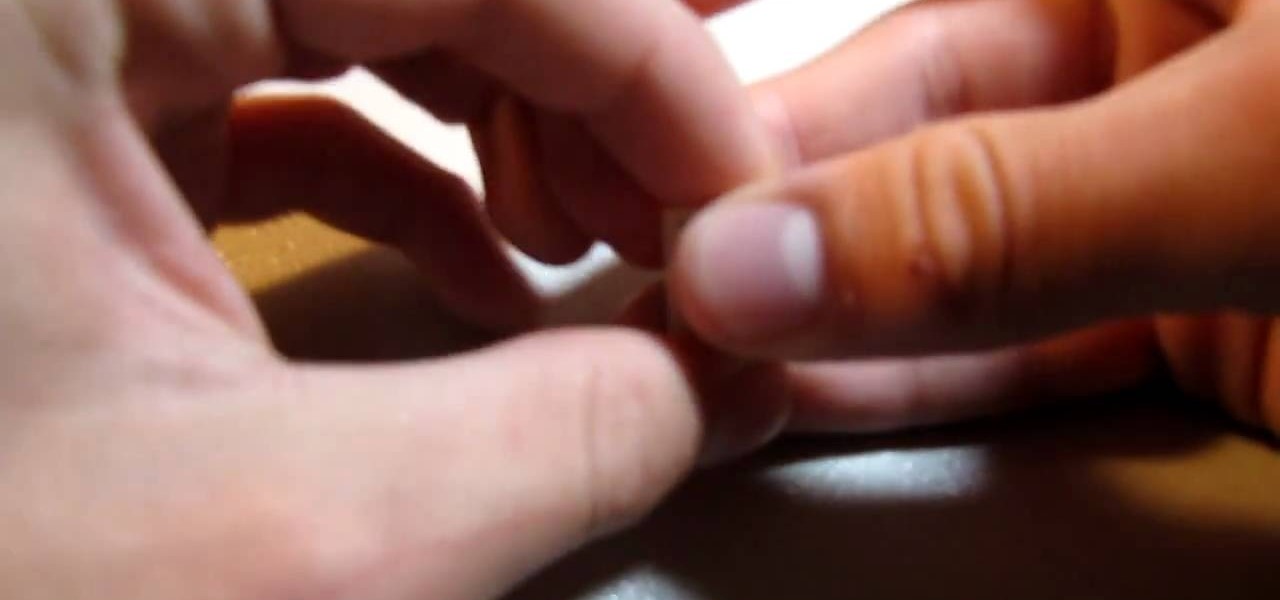
How To: Build a LEGO computer monitor
This video describes how to make a model or representative figure of a computer monitor using LEGO blocks. The process only requires six distinct types of LEGO blocks. One of each of the six types of LEGO blocks is used in the construction of a LEGO computer monitor. The author names, describes, and visually displays each different LEGO block necessary for completing this project. The author begins to construct the LEGO computer monitor out of the aforementioned LEGO types. The author shows t...
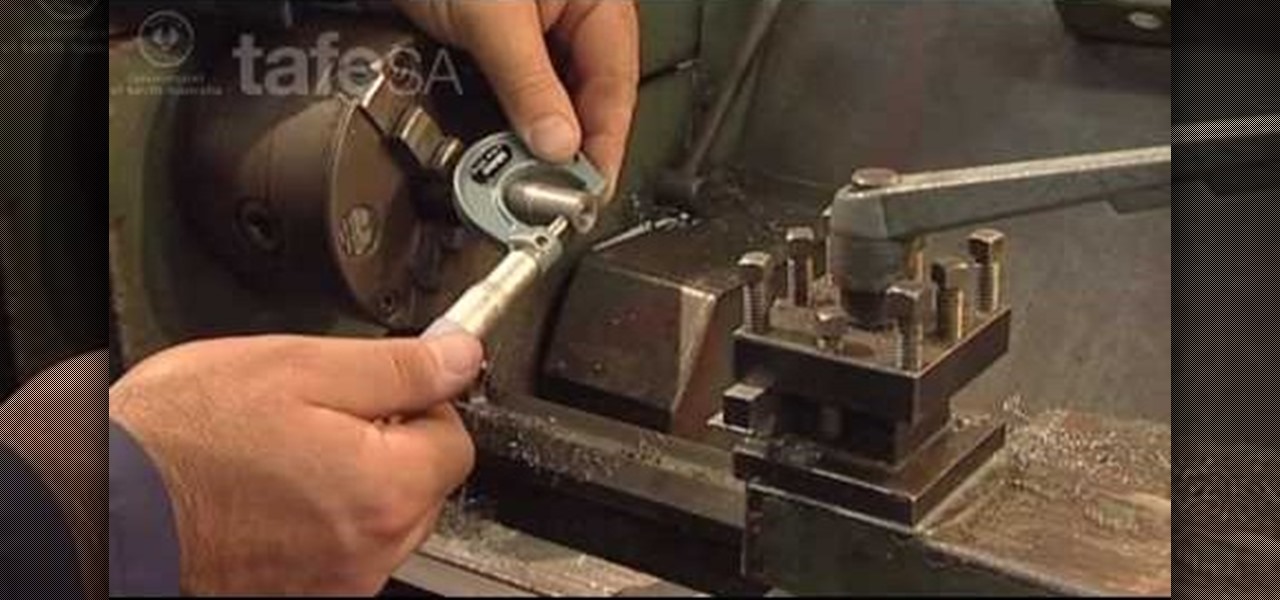
How To: Read a micrometer in mechanical engineering
In this video tutorial, viewers learn how to read a micrometer. This tool allows the user to accurately measure components. They have the ability to measure dimensions accurately to within one hundredth of a millimeter. Micrometers are designed with a wide variety of styles and sizes for normal or specialized applications. Micrometers are able to measure the internal or external dimensions of a component. They are the most important basic measuring instrument used in the metal industry. There...

How To: Build a LEGO Matrix bullet
This video is describing how to make a LEGO version of the Matrix bullet. The first step is gathering all of the supplies. You will need as many of the one by one transparent squares as you can find and a black one by one circular LEGO. Then put all of the white transparent pieces together in a line and trail them behind each other. Twist the line, this will be your bullet trail. Then take the black one by one LEGO piece and place it on the end of your white bullet trail. Then you have finish...
How To: Build a LEGO cabinet
Brickbiys518 here, teaches you to make a LEGO cabinet. You need one 2x6 thin, two 1x6 chunkies, six 2x1 thins with the dot in the center and 12 traffic light bricks. To start off, take the 12 traffic light bricks and put them into stacks of two. There are 6 stacks in the end. Lay them out horizontally one below the other. Take the 1x2 with the dot in the center bricks and put them on two stacks at a time thereby joining the two stacks. In the end, you have three stacks. Put them aside and tak...
How To: Build a LEGO snow plow
This video shows you how to build a LEGO snowplow. For this project you will need the following LEGO pieces: 1-1x4 plate, 3-1x2 plates, 1-1x2 plate with claws, 1-1x2 plate with handle, 2-1x1 smooth plates, 2-1x1 cylinders, 2-1x4 smooth plates, 1-1x6 smooth plates, 1-2x6 plates, 2 nozzle bricks, 2-1x1 claw bricks, and 2-1x1 slight slope bricks.
How To: Build a LEGO stroller
In this video you will learn how to build a LEGO stroller. The materials you will need are 4 of the small slanted bricks, one two by four thin brick, 3 two by 1 thick bricks, 2 one by one thin bricks, 2 one by one by four studded bricks, a small smooth brick, two odd angled smoothed bricks, 4 wheels, one one by two with dot in center bricks, and one one by two handle bricks. Then after carefully assembling the bricks as shown he will show you a example of what it will look like when you're fi...
How To: Make a Lego crossbow
The girl in this video demonstrates the way of making a LEGO crossbow at home. She first shows you what all pieces that you require for the process. Then she asks you pick up the rod-shaped piece and stick it to the back of the spark piece. Then you have to put the two tiny pieces together as shown by her. Then she asks you to attach this piece to the stick and push it all the way to the end touching the spark piece. Then you have to stick the two horn-shaped pieces to the sides of another pi...
How To: Make a Lego sword
In this video tutorial, viewers learn how to make a LEGO sword. LEGO consists of colorful interlocking plastic bricks and an accompanying array of gears, minifigures and various other parts. This video is very short and only lasts for 35 seconds. It is very basic and easy to follow. This LEGO construction is very simple, fast and easy to do. There are only 3 pieces required to make the LEGO sword. It does not matter what color the pieces are. This video will benefit those viewers who enjoy pl...

How To: Build a LEGO fire extinguisher
In this short video tutorial you'll be shown how to build or create a LEGO fire extinguisher/spray paint can. The process only requires two LEGO pieces to complete the item. The first piece required is a 1x1 studded can LEGO brick. The second piece is a 1x1 nozzle LEGO brick. Each piece is clearly shown and described in the video to make the process easier. Simply attach the two LEGO pieces together, forming an item which resembles either a fire extinguisher or a spray paint can. The last ste...
How To: Build a LEGO arm chair
Learn how to make a LEGO Armchair with this video tutorial. You will need 4 1x2 flats, 1 2x2 flat, 1 2x2 flat smooth, 2 1x3 chunkies, 1 1x4 flat, 2 2x3 flats, 1 1x2 chunky, 2 curved 2x1 angle bricks, and 3 1x2 flat smooths. Take the four dots and take 1 1x2 flat and place it on top of one of the studs. Take the other flat and do the same. With the 1x4 flat, place it on top of the remaining two black studs. Take your 2 2x3 flats and take the 1x4 with the studs on the top and put them together ...

How To: Build a LEGO table
Out of all the toys that have existed in the world, LEGOs are some of the most interesting, fun, and creative pieces of building blocks. Not only can they easily be taken apart, but there is no limit to what you can build using these magnificent blocks. This video tutorial will show you how to take some LEGOs to make a nice little table. Enjoy!
How To: Build a LEGO sink
Building a LEGO sink is not difficult at all. You will need only 6 simple parts: 2 1x2 thins, 1 2x2 thin, one sink element (this is kind of rare so if you're not able to find it, you may have some trouble making the sink), and 2 1x1 right-angle elevated bricks. Starting with the 2x4 thin, stack the 2x1s on top of each other and place them on the end of the 2x4. Now take the elevated bricks and snap them on the other end. Finally, attach the sink element so it is facing the elevated bricks. Th...
How To: Build a LEGO chicken
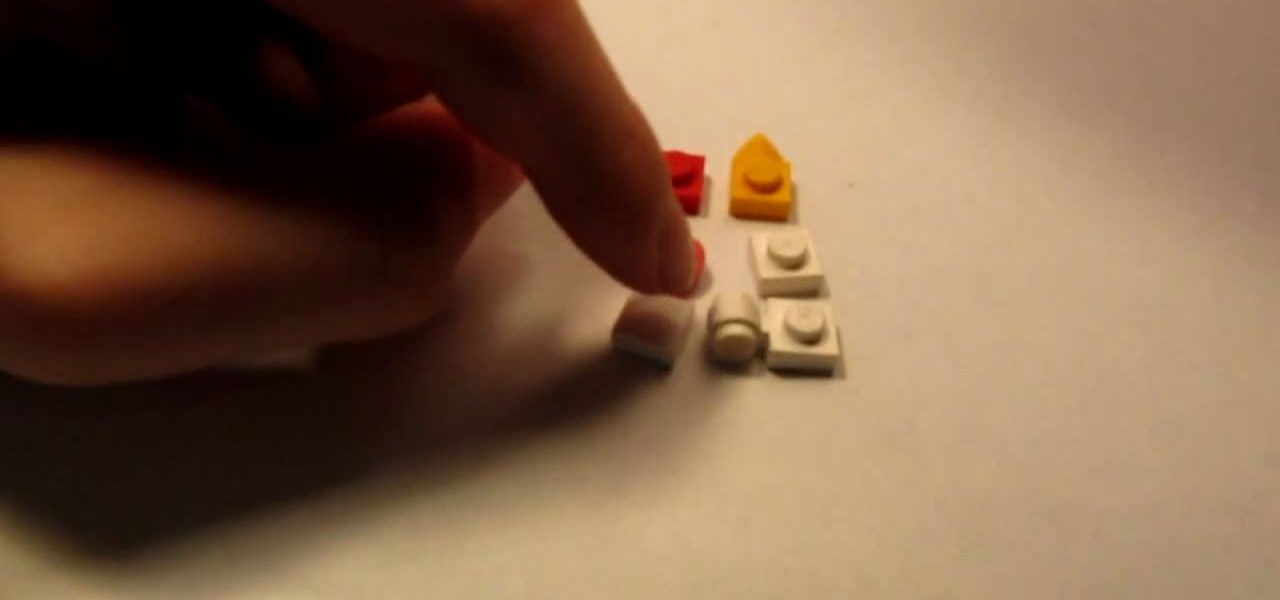
If you've ever wanted to learn how to build a LEGO chicken, today is your lucky day. First you'll need a 1x1 red LEGO stud, flat square with claw, smooth white, orange with a tooth, flat square, and a flat square with a circle coming out of the side. Starting with the claw, but the stud on top. Now take the piece with the claw and attach that to the opposite side of the claw. Put your flat square on top of that, then the flat with the tooth and another flat square goes on top. Now you're done...
How To: Make a Lego minigun
This is a Hobbies and Toys video tutorial where you will learn how to make a LEGO mini gun. For making this toy, you will need the LEGO mini gun kit. The mini gun consists of eight parts. Probably the pieces do not have names. So, the kid who is demonstrating in this video keeps referring all the parts as pieces. You first take the long grey piece and put a small light grey piece on top and push all the way down. Then you take another similar piece and fix it at the top and leave it aside. Th...
How To: Use a micrometer
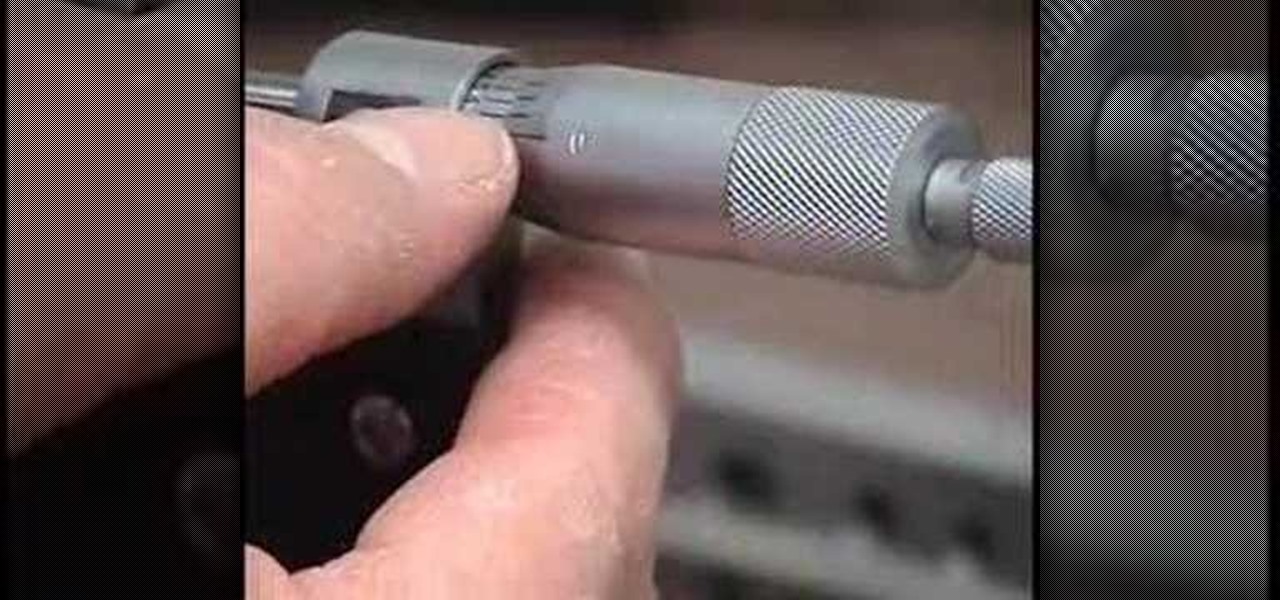
This is a Hobbies and Toys video tutorial where you will learn how to use a Micrometer. Micrometers are precision measuring tools and they can be calibrated in inches or in metric system. There are also digital micrometers available where the reading switches back and forth. Generally they are right handed. The micrometer shown in the video is calibrated in inch. Each division is one thousandth of an inch. A whole rotation of the knob is 25,000 and one division is seen on the bell. Two rotati...
How To: Make popsicle stick fences
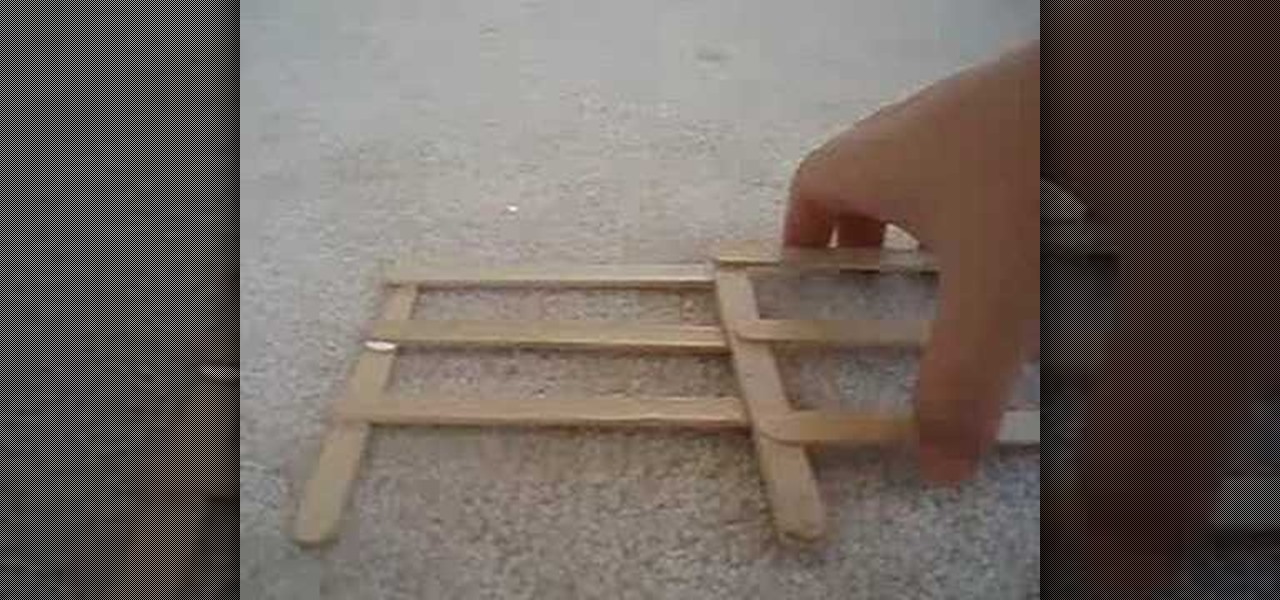
If you've got a tiny farm, you're going to need some tiny fences. Don't shell out your whole allowance for a fancy store bought fence set. Instead make your own fences out of popsicle sticks. This video tutorial demonstrates how to create stalls and stables so your miniature farm animals won't escape.
How To: Build hot air balloon out of a garbage bag
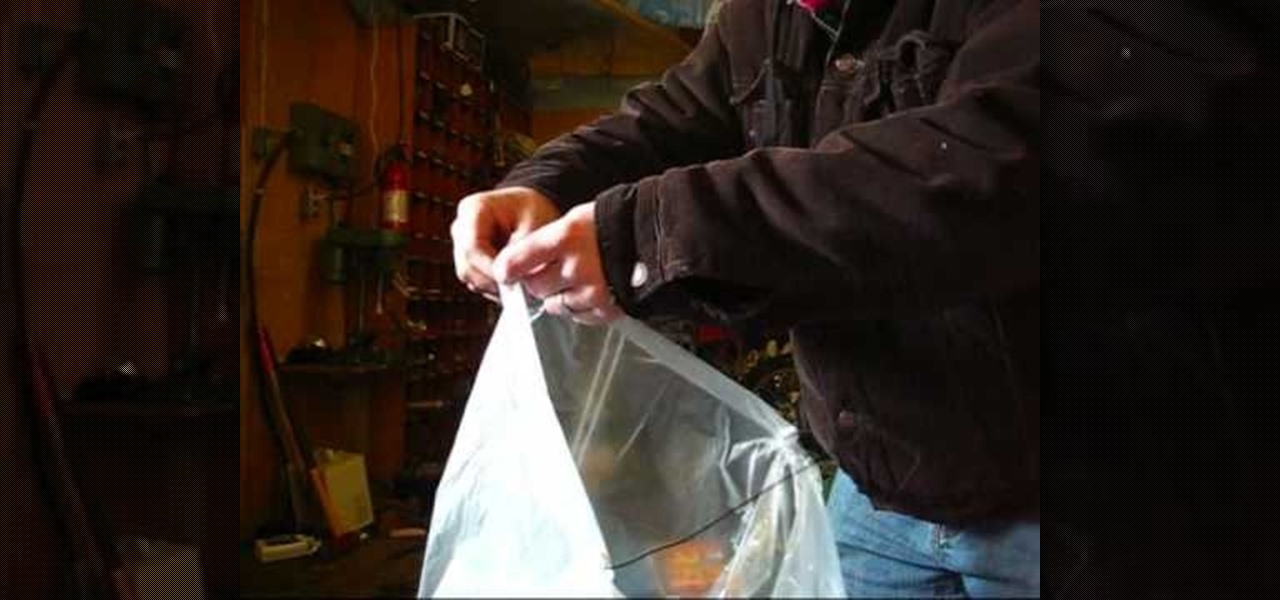
This is a simple and easy tutorial, and anybody can build a hot air balloon out of a garbage bag by following the instructions in it. All one needs is a garbage bag, some stiff industrial wire and fire starter bars. The important thing, according to the author, is to judge how many fire starter bars will be required to make the balloon rise without melting its plastic body. First, two long wires are twisted together in the middle to make an 'X'. A smaller wire is twisted onto the middle of th...
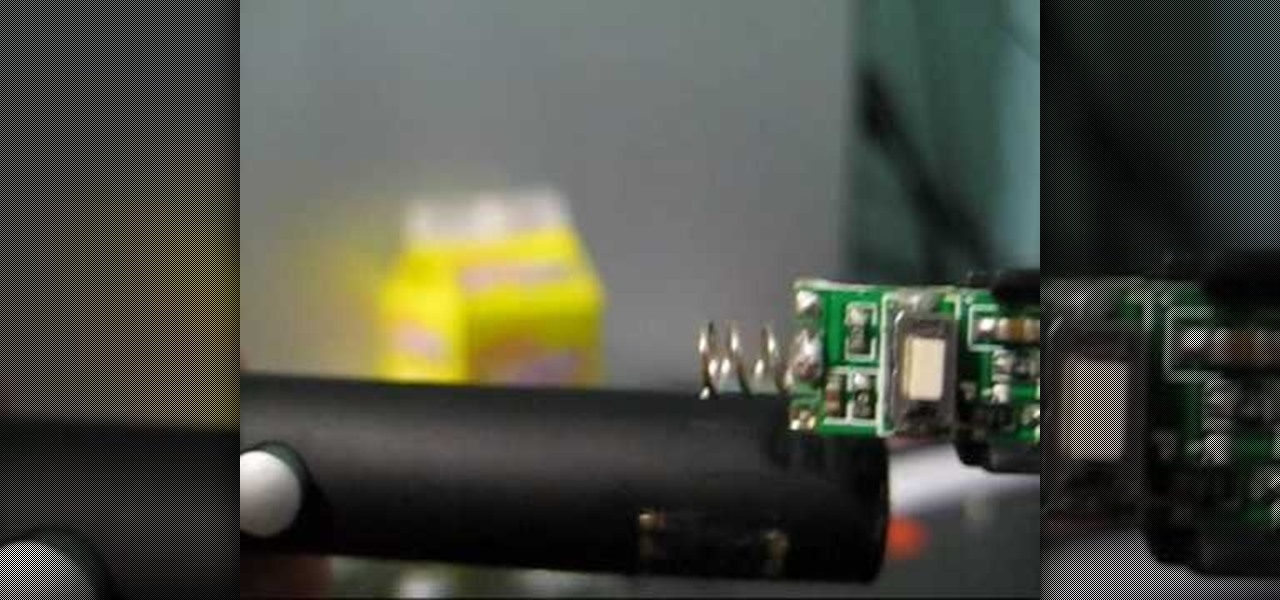
How To: Pot mod a green laser
Put the newspaper down on a work surface. Pick up the 5 MW green laser pen and unscrew the battery cap. Remove the batteries and put them and the battery cap aside.
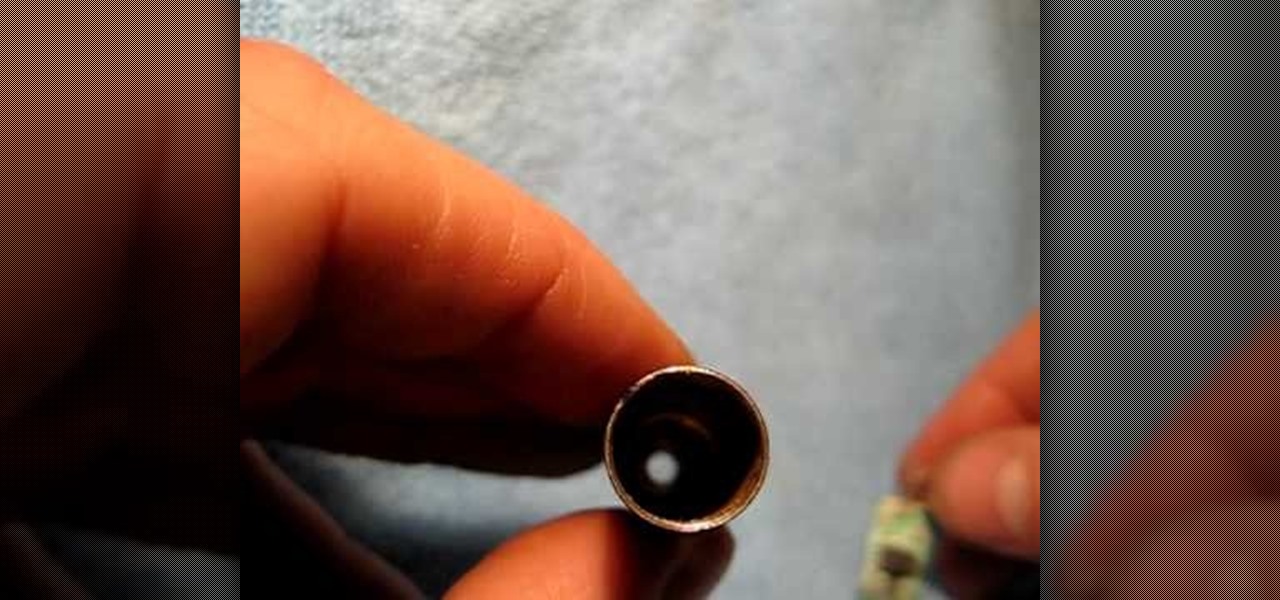
How To: Take apart a laser pointer
Have you ever had a combination of extreme boredom and an unrelenting curiosity? If so one thing you may have attempted to do is to take apart or "de-engineer" a common office laser pointer. In this online video we are shown how to take apart a cheap laser pointer. It should be noted if you are going to attempt to do this you should only try it on a laser pointer that is inexpensive so your loss will not be great if you should make an error.


